Outlook.com tutorial & tips
1] Block unwanted senders
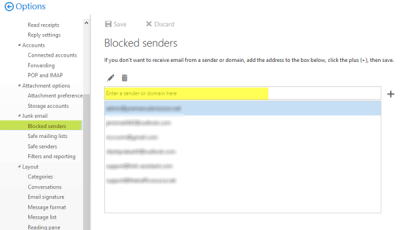
If you have mistakenly signed up for the newsletter of different e-commerce websites or if you have started getting unwanted online deals related email, you can block that particular sender or a whole domain to get rid of that. Mails from all the blocked senders will be moved to “Junk” folder. To add an email to Blocked Senders list, click on the Settings gear button > click on Options > Mail > Junk email > Blocked senders. Here you can add a particular email or a domain name in the empty box.
2] Setup “Automatic Reply”
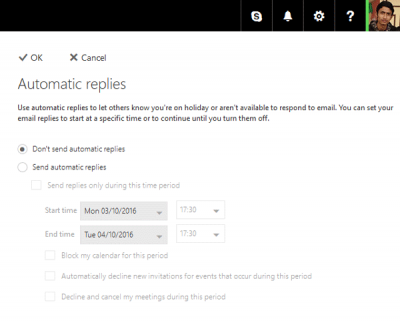
Let’s assume that you are going for a vacation, but you want to keep in touch with your email senders. At such times, you can setup Automatic Reply that will let you send a predefined message to all. The reply will be sent to all, so you have to know that even spam emails will get a reply from you! If you wish to set this up, click on the settings gear button > select Automatic Replies. Now, you can select the start date, end date, select contacts and write a message. If you select a future time, your automatic reply will be sent automatically after that preset time. Read: Microsoft Outlook Tips and Tricks.
3] Send money through PayPal
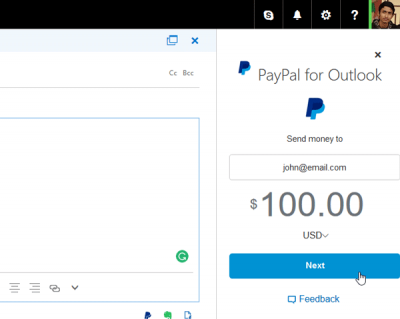
PayPal is one of the most trustworthy money transferring platforms and you can use Outlook to send money through PayPal. For this, you need to install the PayPal add-in. Click on the Outlook settings button in the navigation bar > select Manage integrations > search for PayPal for Outlook > toggle the button. Now, open the compose email window. You should get the PayPal logo in the bottom bar. On the next window, you will have to enter the recipient’s PayPal’s email ID, amount, currency, etc. After that, you will have to log into your PayPal account to complete the payment. Read: How to disable Link Preview in OWA.
4] Attach file from cloud storage
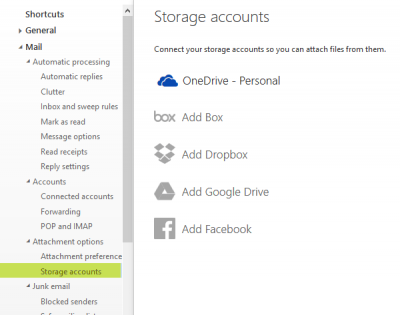
Nowadays we store files in different cloud storage such as Google Drive, Box.net, Dropbox, OneDrive, etc. By default, Outlook allows users to insert a file from OneDrive, but you need to authorize your other cloud storage accounts to attach a file from them. To do so, go to Outlook Options > Mail > Attachment Options > Storage accounts. Here you can find different storage options. Select one and enter your account credentials to get started. Following that, you will get an option to attach files while composing a new email. Read: How to forward email or disable unauthorized forwarding in Outlook.com.
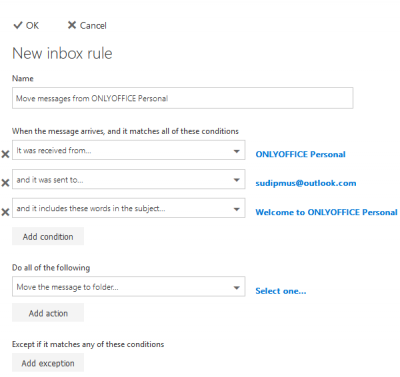
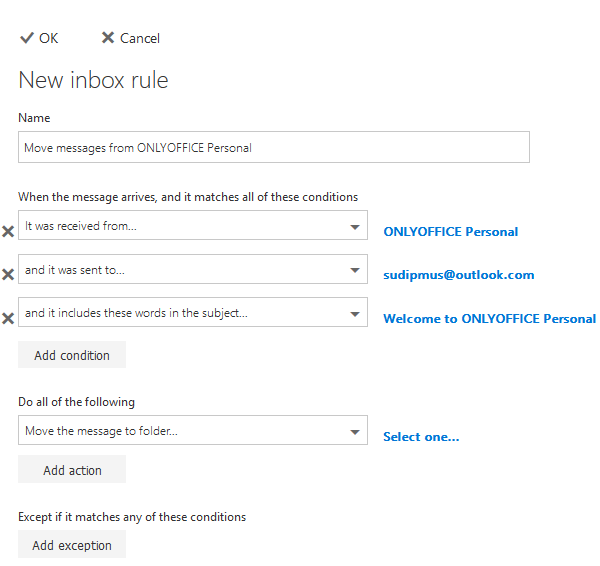
5] Create custom rule
Outlook Rules help users to play with a specific email ID or email text (including subject). For example, you can move a particular email to a folder if the subject contains a particular word or sent by someone. There are tons of conditions that you can use to manage your emails. The easiest method to create an email is here. To do this, open an email > click on three dotted buttons > select Create rule. Now, you can choose all the conditions and hit the OK button. I hope you find these tips useful. There is more on Outlook.com that you may want to read about: